Storing images for your react native app
Sometimes storing images might be challenging. There are a few cloud storage that can be used to store images such as: Cloudinary, Google Cloud Storage, Amazon S3 Bucket etc. This article will cover how to use Cloudinary to upload images in a React Native app.
What is Cloudinary?
Permalink to "What is Cloudinary?"Cloudinary is a cloud service that provides a solution to store images of web and mobile applications.
The procedure of integrating with Cloudinary is simple and easy. Additionally, cloudinary provides comprehensive documentation, easy-to-use APIs, client libraries for all well-known development frameworks, and excellent customer service.
Without having to install any additional software, you can quickly upload images and videos to Cloudinary and automate clever modifications of that assets.
Cloudinary has lots of advantages, including:
- Different image file types
- Optimum upload scale
- Optimization algorithms
- Secure cloud storage etc.
To accomplish this, take the following steps:
- Create cloudinary account
- Save your cloud name
- Save your upload preset
- Create React Native project
- Upload images to Cloudinary
Create Cloudinary Account
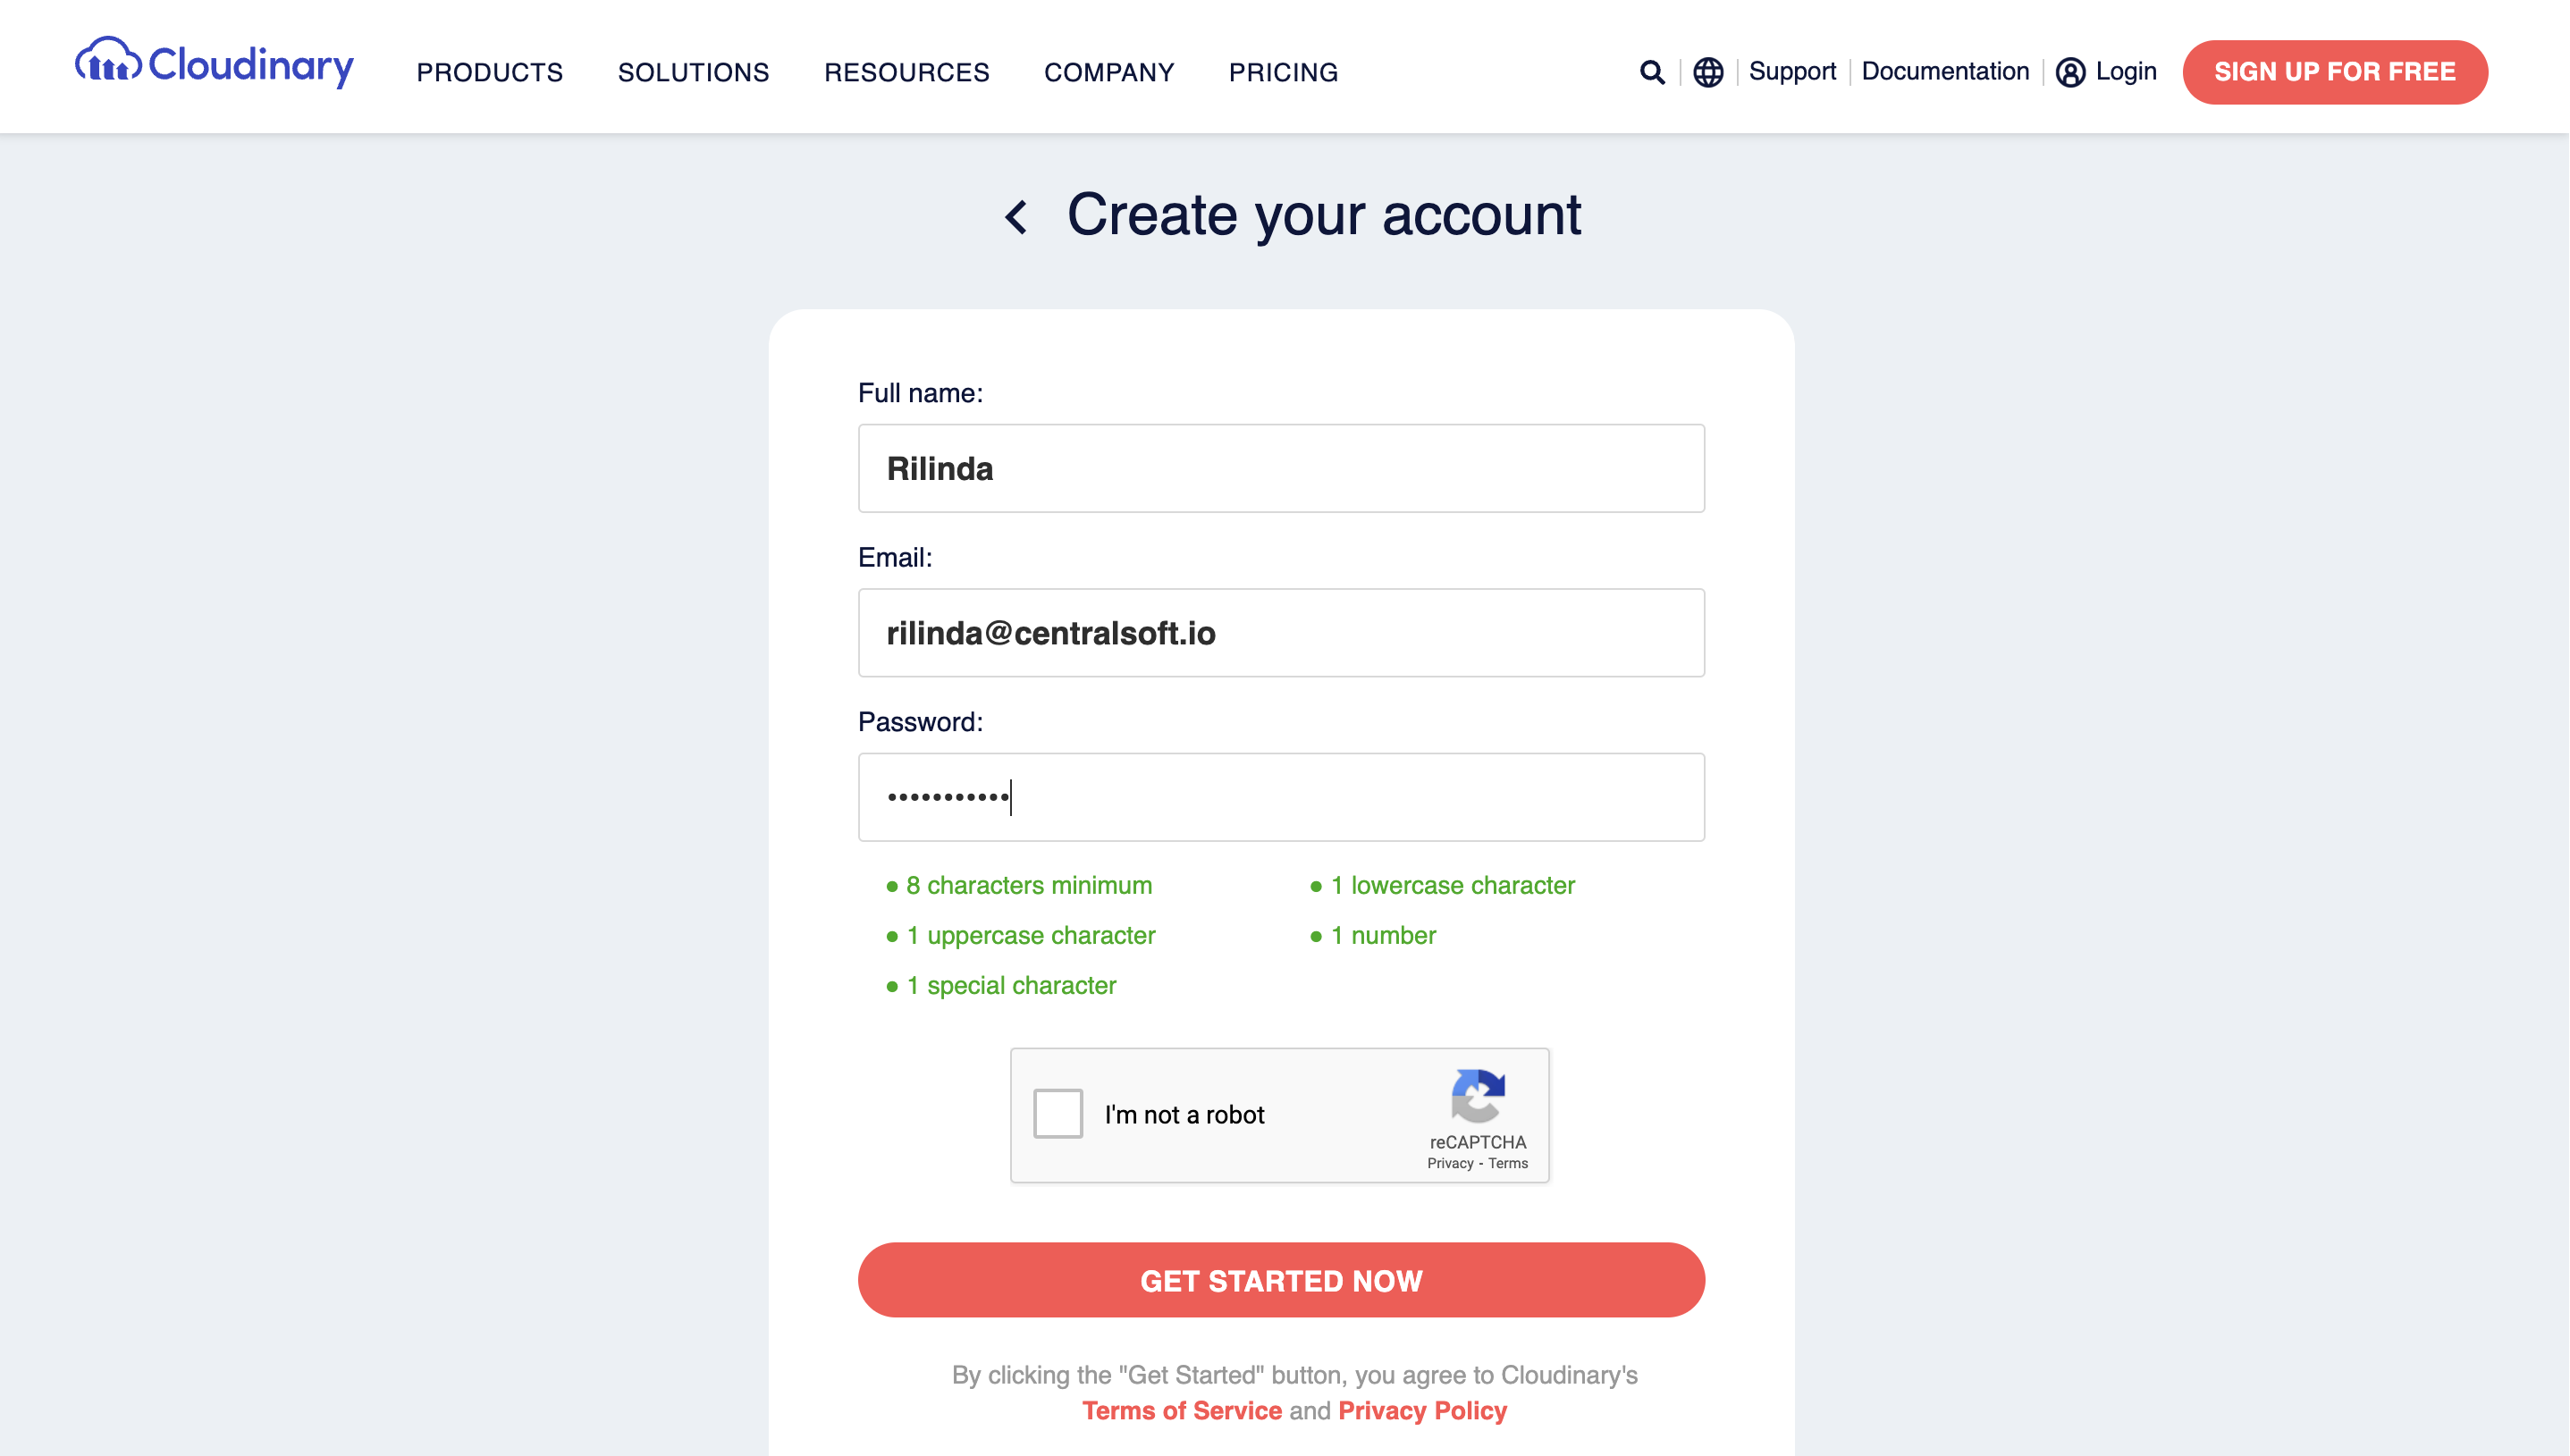
Permalink to "Create Cloudinary Account"Assuming you don’t have one, we’ll create it together. Fill the data and click Get Started Now button, then you need to verify your email address. After your email address has been verified, you must respond to a few questions in order to create your cloudinary account.
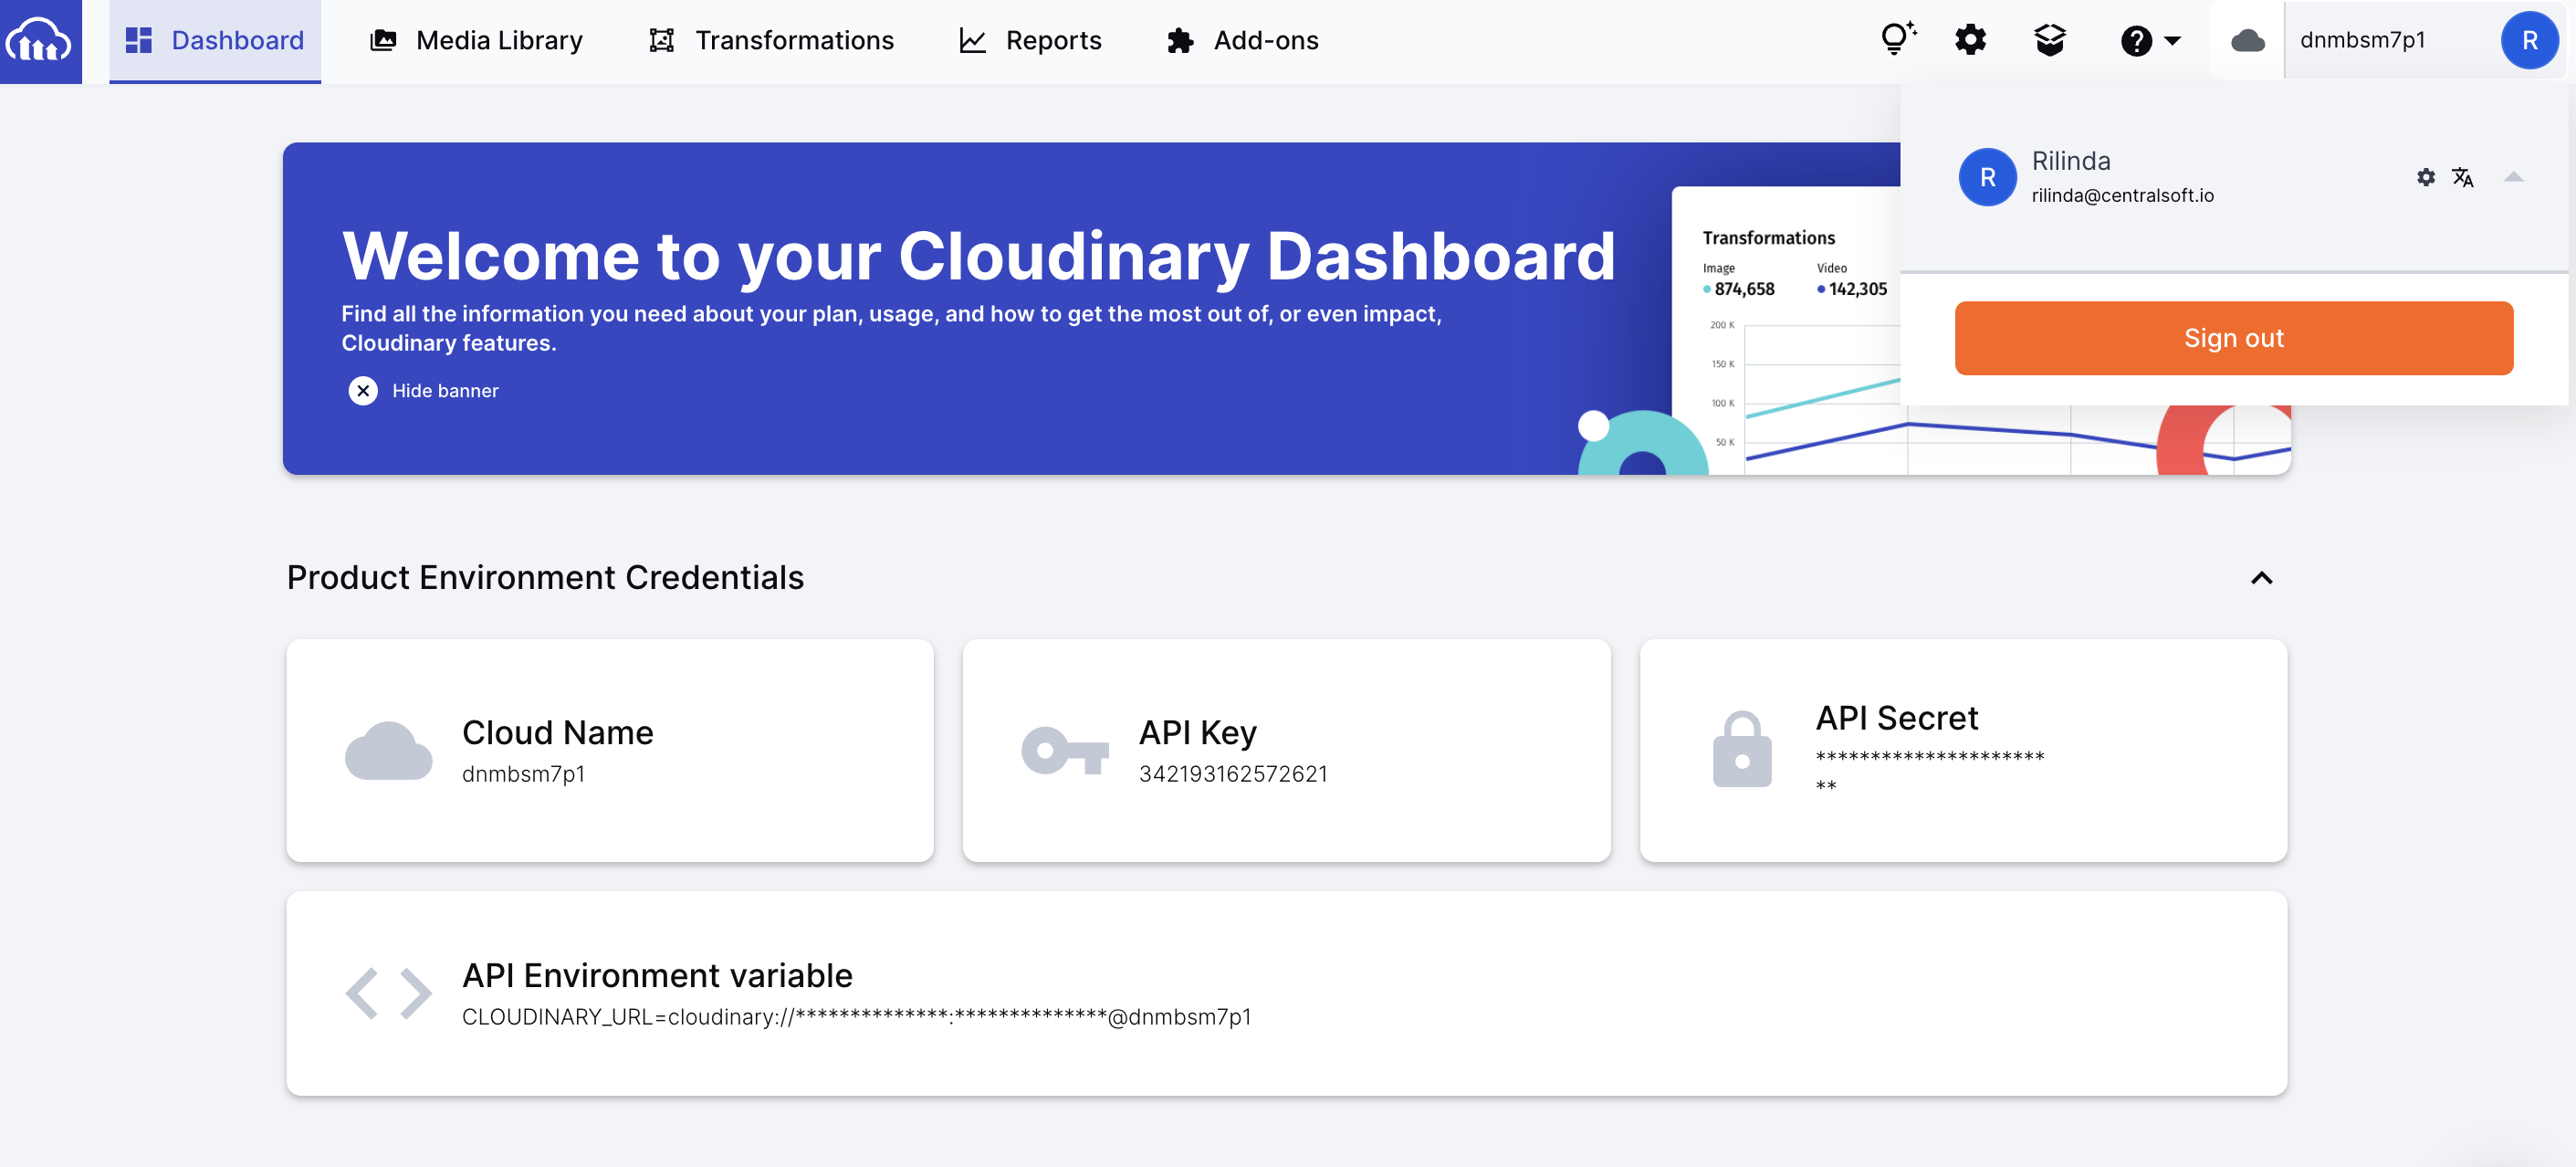
- Save your Cloud Name
Once you’re logged in, go to the dashboard where you will find your credentials that Cloudinary has generated for you automatically. We’ll address this later.
There are multiple ways of uploading files into Cloudinary, we will go with the easiest one which is using unsigned upload preset.
Upload presets enable you to centrally define a set of asset upload options instead of specifying them in each upload call.
- Save your Upload Preset
Click on “Settings” > “Upload” > “Add Upload Preset”. Your Upload Preset name and Signing mode will show up after you click the Add Upload Preset button.
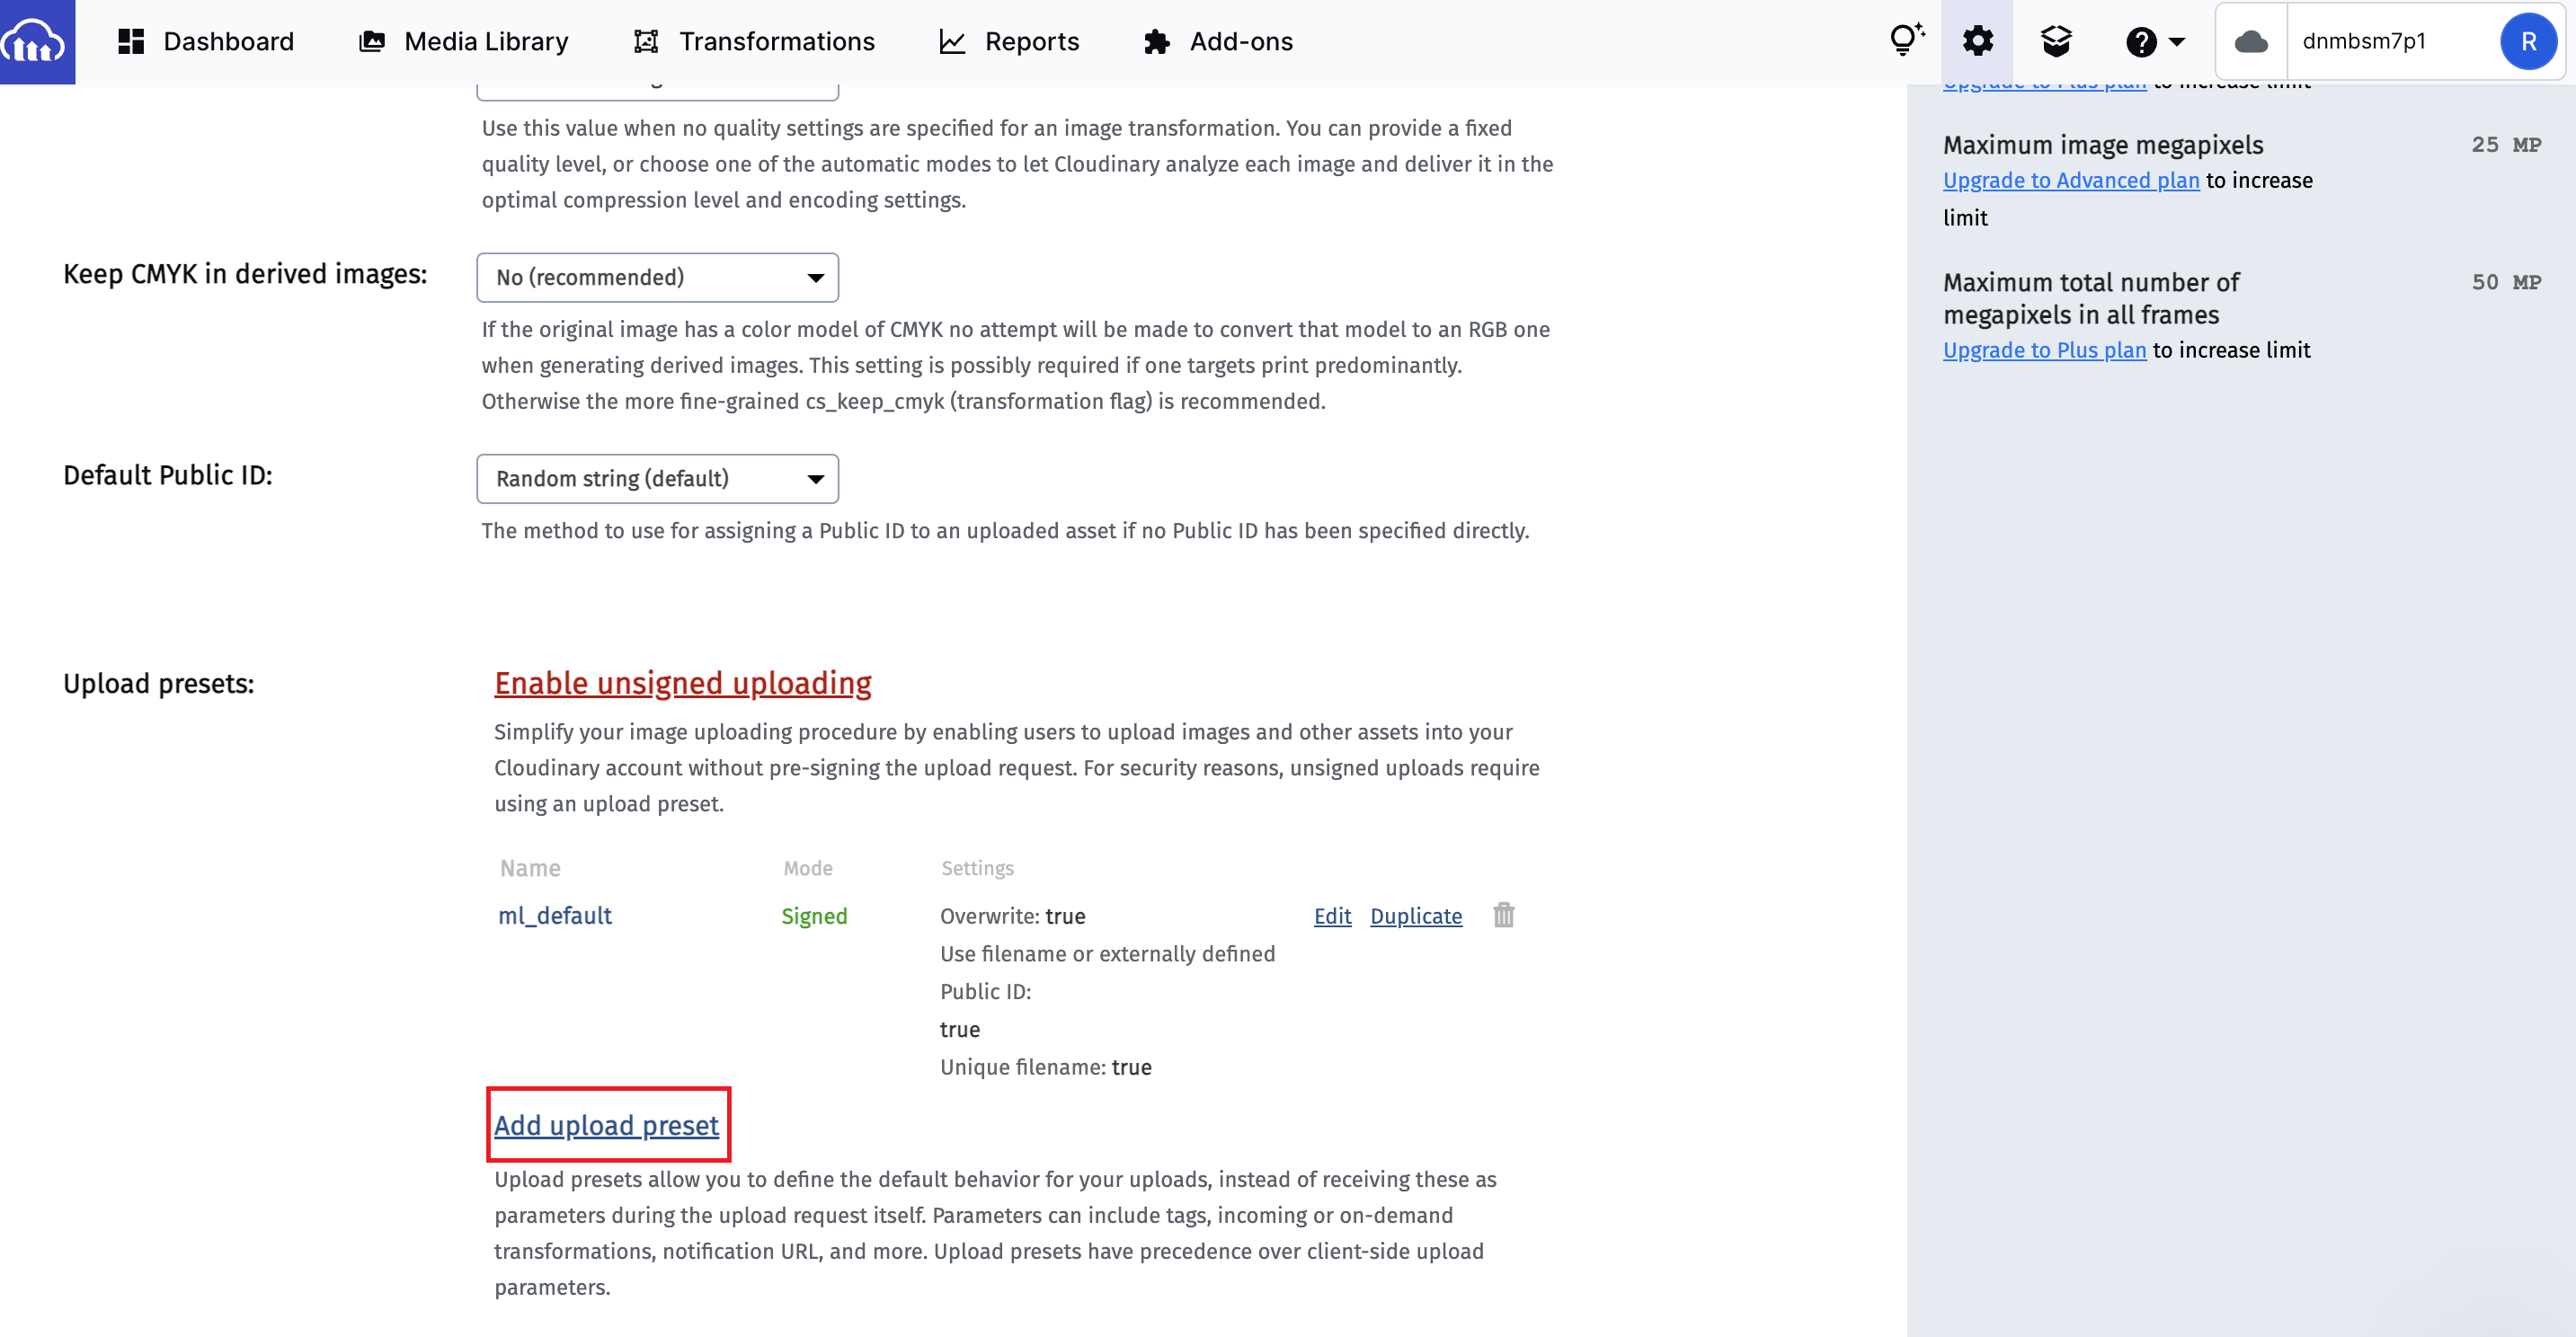
As you can see, you can create, modify, or delete upload presets. But, the most important thing to consider when creating a new upload preset is whether you want the upload preset to be signed or unsigned. While we are implementing upload capabilities from the client-side app we should change Signing Mode to Unsigned as below.
Keep in mind → For security reasons consider generating a more secure upload preset name of your choice.
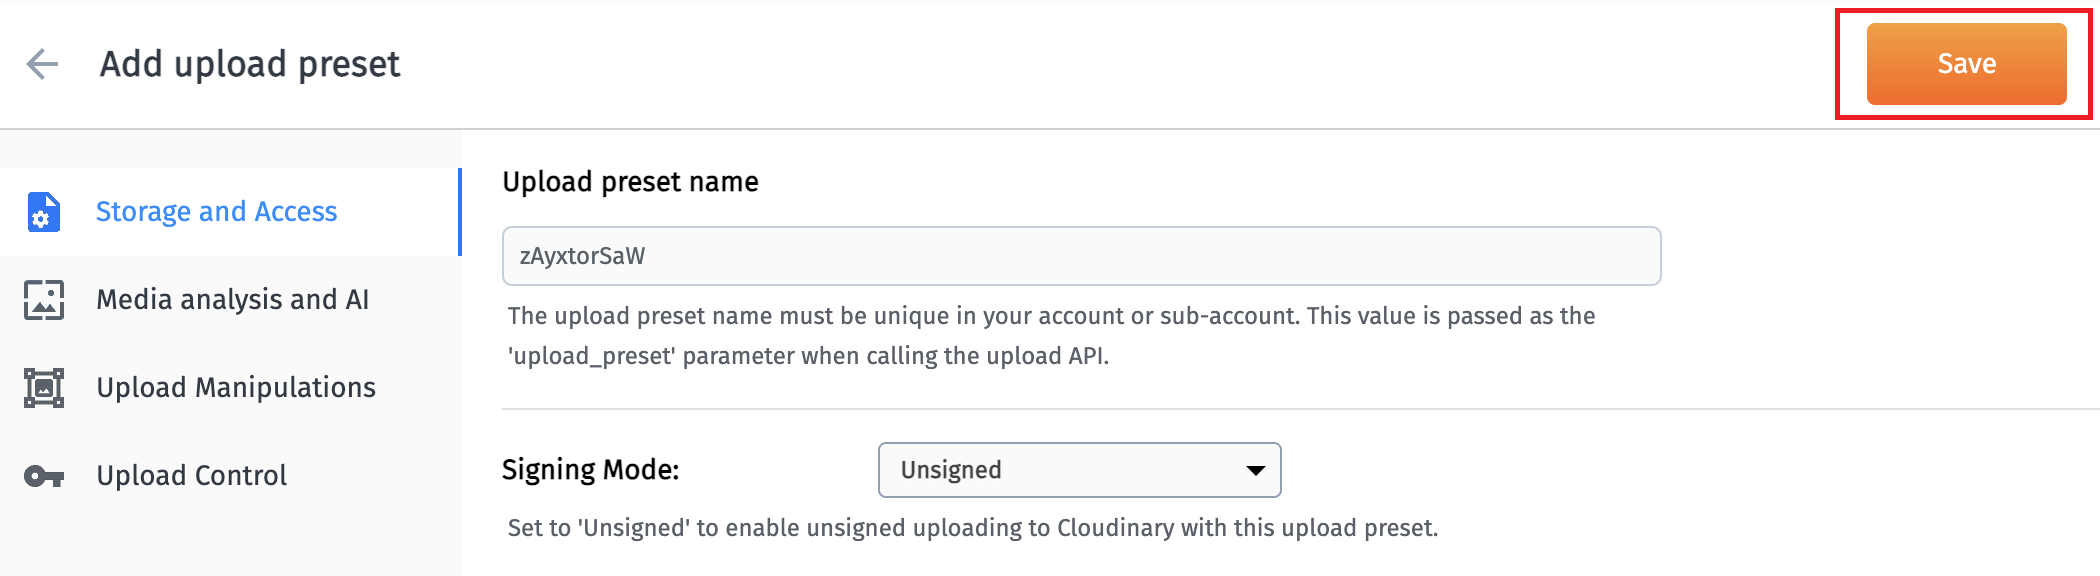
After that, click on the Save button and take note of your Upload preset name as it will be required later.
Create react native project
Permalink to "Create react native project"You can create react native app using this command:
npx react-native init <your-app-name>
Upload images to Cloudinary
Permalink to "Upload images to Cloudinary"The post URL that we use for upload should look like this:
https://api.cloudinary.com/v1_1/<cloud name>/<resource_type>/upload
- Cloud name is the name of your Cloudinary account (you can find it on cloudinary dashboard)
- Resource type is type of the file we want to upload (on our case it’s image)
After that, you could create an .env file on root directory of your project, then add the above post URL replaced with your Cloud Name and Upload Preset Name which we saved previously.

As we know, we should convert images into a format so that we can transfer them properly to Cloudinary. That’s where base64 encoding comes in.
It is used when we need to encode binary data that should be stored and transferred over media that are designed to deal with ASCII. This is to ensure that the data remain intact without modifications during transport.
const openImagePickerAsync = async () => {
	try{
    const permissionResult =
      await ImagePickerRN.requestMediaLibraryPermissionsAsync();

    if (permissionResult.granted === false) {
      alert("Permission to access camera roll is required!");
      return;
    }

    const pickerResult = await ImagePickerRN.launchImageLibraryAsync({
      aspect,
      quality: 1,
      base64: true,
    });

    if (!pickerResult?.cancelled) {
      const selectedImages = pickerResult?.selected;
      setImage(`data:image/jpg;base64,${selectedImage.base64}`);
		}
  } catch(error) {
    //log error
   }
};
Now, we call the uploadToCloudinary method that we will do later and pass to it the picked image
import uploadToCloudinary from './UploadToCloudinary.js'

const handleImageUpload = async () => {
  try {
    if (image) {
      const uploadedImage = await uploadToCloudinary(image)
      if (uploadedImage) {
        // you can save the image url to your database
      }
    }
  } catch (error) {
    // handle error
  }
};
Here is the snippet code that you will need in order to upload your files in Cloudinary. You can create it as a new file e.g UploadToCloudinary.js ( name it as you want ) and use it in various places wherever you need it.
import { CLOUDINARY_API_URL, CLOUDINARY_UPLOAD_PRESET } from "@env";
import axios from "axios";

const uploadToCloudinary = async (file) => {
  const apiUrl = CLOUDINARY_API_URL;
  const data = {
    file,
    upload_preset: CLOUDINARY_UPLOAD_PRESET,
  };
  try {
    const result = await axios.post(apiUrl, {
      ...data,
    });
    const media = result.data.secure_url;
    if (media) {
      return media;
    }
  } catch (error) {
    // log error
  }
};
On the above code, we are making a post HTTP request to save image on Cloudinary, then Cloudinary will return us an object with the data of the uploaded image in the cloud (as shown below).
You can take the whole object, and save it in your database so you can use the others params for various things but, we take just the secure_url as this is just a POC to demonstrate the use of Cloudinary storage.
Object {
  "access_mode": "public",
  "asset_id": "0d912a63255556ba407a46de063ebb02",
  "bytes": 1904081,
  "created_at": "2022-11-28T14:18:48Z",
  "etag": "4891901145479cbbbcec781663ac9501",
  "folder": "",
  "format": "png",
  "height": 1332,
  "placeholder": false,
  "public_id": "xwl8b8rjuxpqr2fco1ng",
  "resource_type": "image",
  "secure_url": "https://res.cloudinary.com/djtt4azor/image/upload/v1669645128/xwl8b8rjuxpqr2fco1ng.png",
  "signature": "b04bfa5a21c8bdee6d66cf94f1a28d86667a9d2d",
  "tags": Array [],
  "type": "upload",
  "url": "http://res.cloudinary.com/djtt4azor/image/upload/v1669645128/xwl8b8rjuxpqr2fco1ng.png",
  "version": 1669645128,
  "version_id": "890c6f9dfc9a3c44bf1264dbfc542024",
  "width": 2560,
}
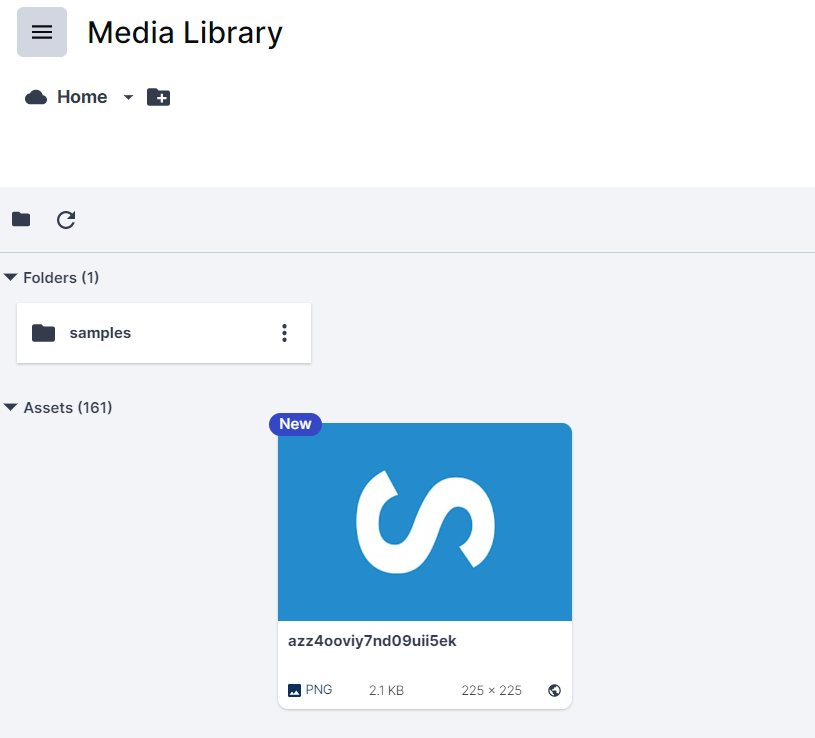
Finally, the image will be uploaded on Cloudinary and it should look like this: